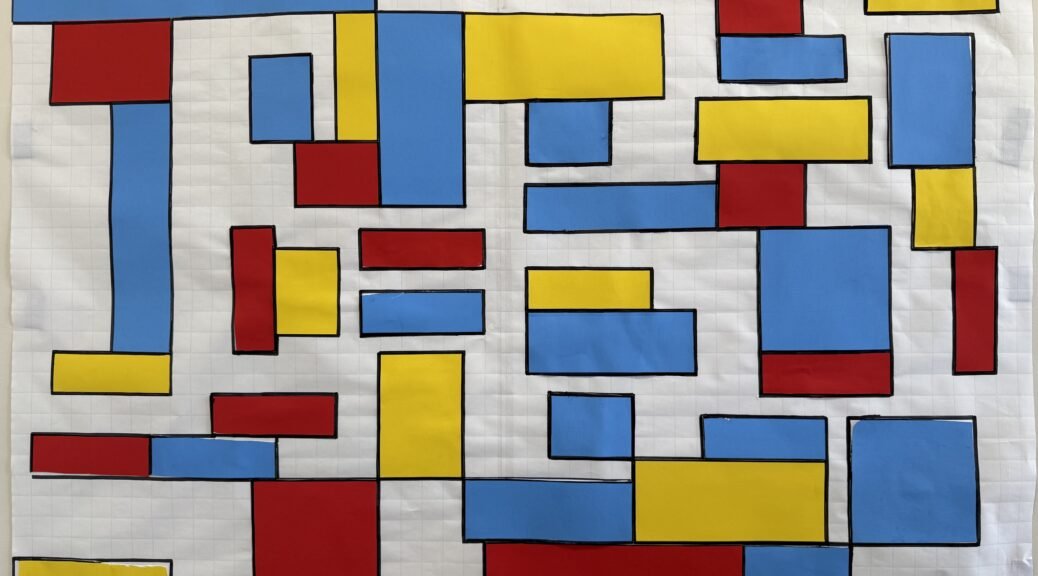
A Twist on Mondrian Art – A Family Math Night Activity
Scissors, glue, bright colored paper and pens… Anytime an activity includes any of these you can be sure it’s going to be a hit. And if there’s a way to weave in some math, it’s a win/win.
That was the inspiration behind my latest collaborative project, A Twist on Mondrian Art.
Piet Mondrian, a Dutch painter, was known for his geometric abstract style which used grids of black lines and rectangles of primary colors. His use of rectangles made this the perfect opportunity to explore shapes, perimeter, and area.
The Activity
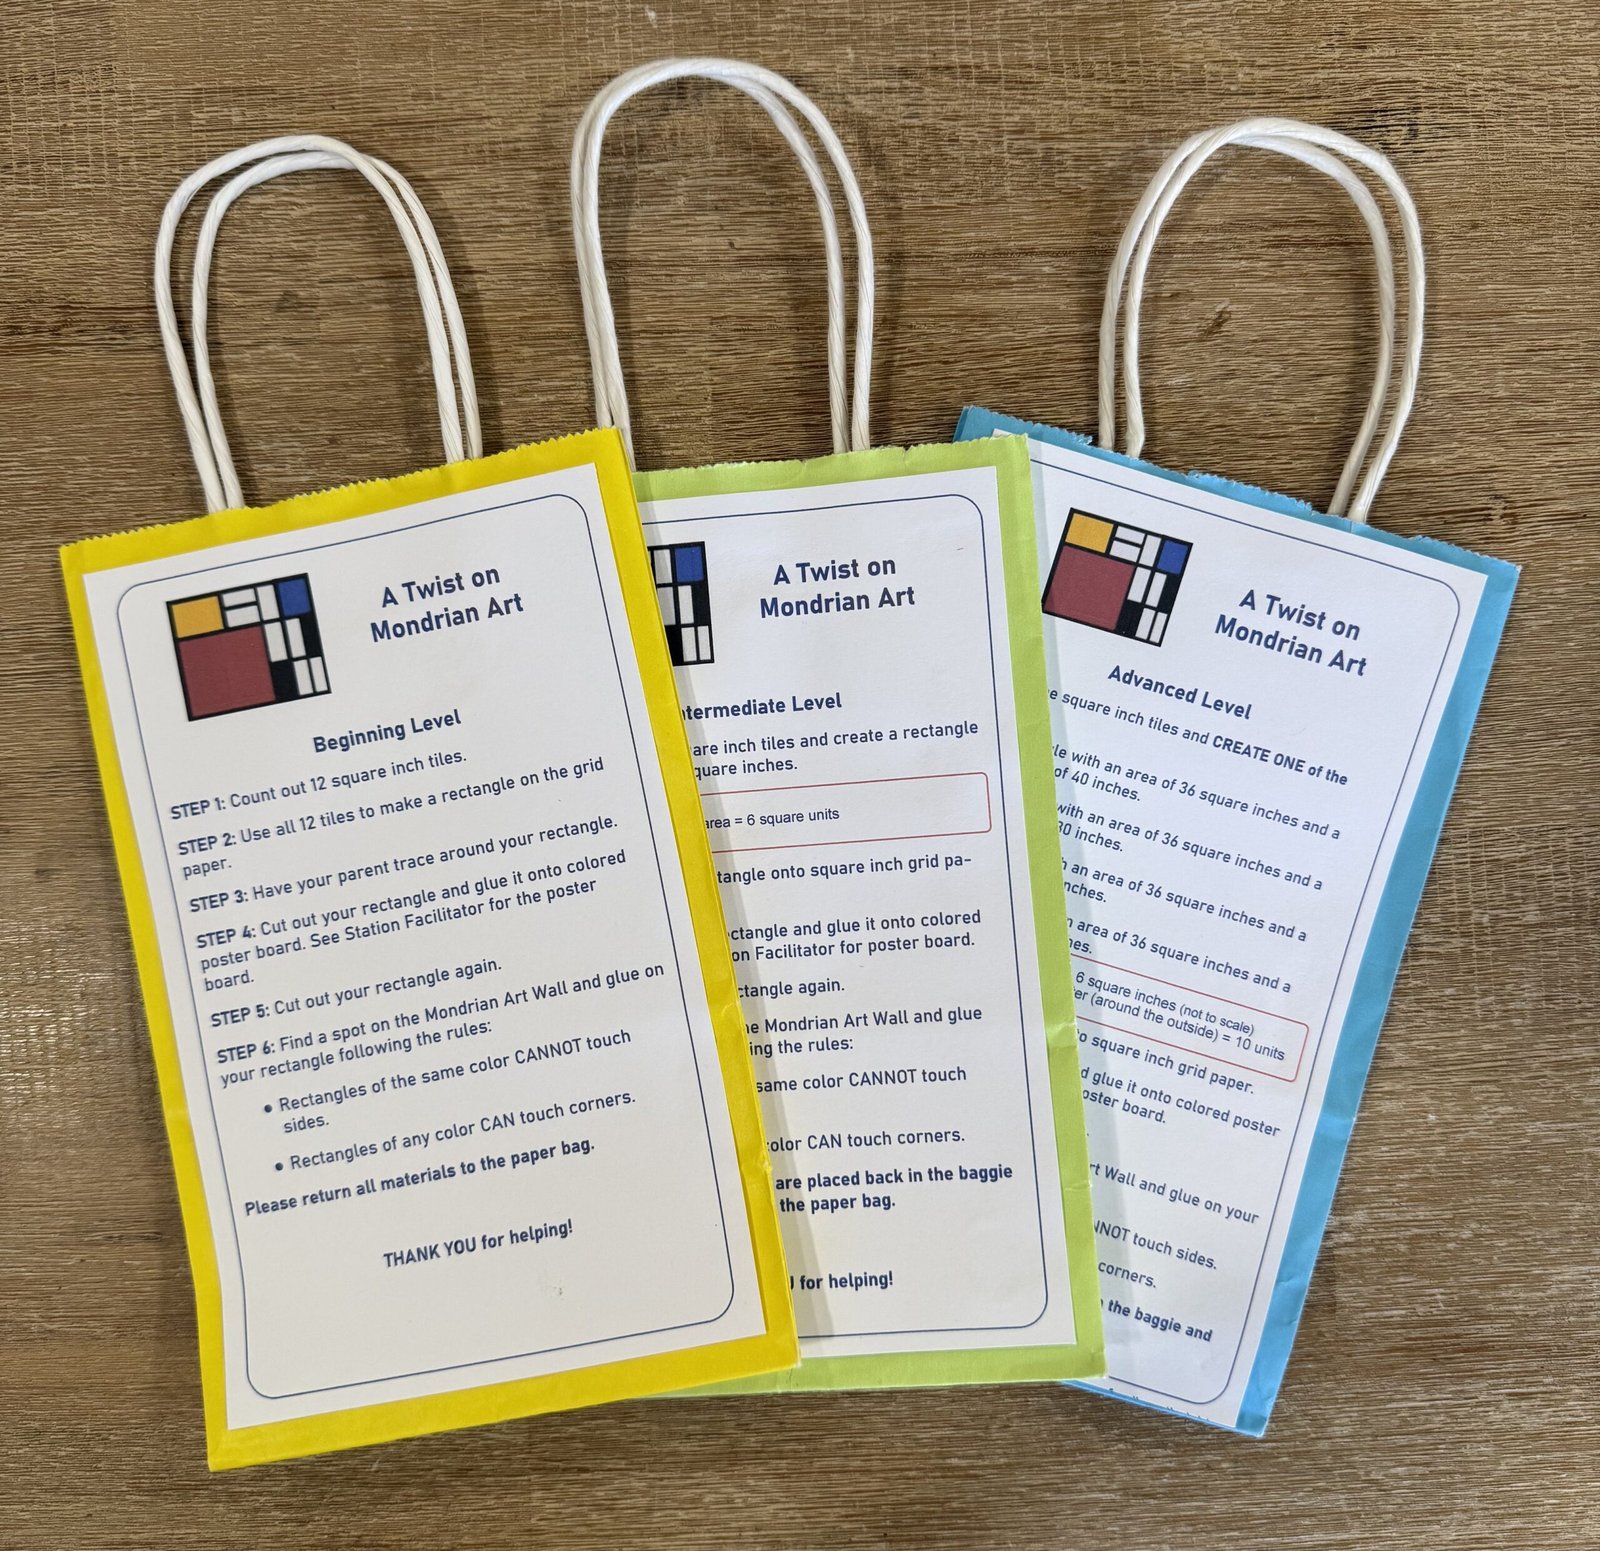
As with all of our family math night activities, this station was divided into three levels:
- Beginning K/1 (yellow)
- Intermediate (green) 2/3
- Advanced 4/5 (blue)
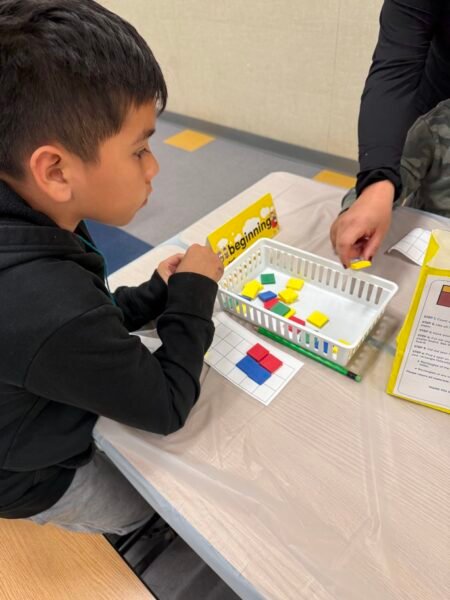
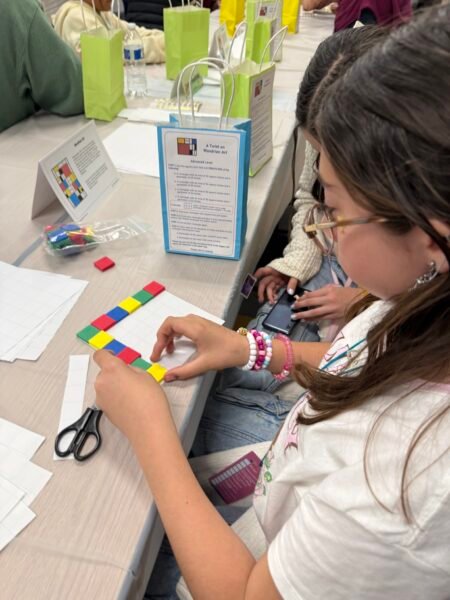
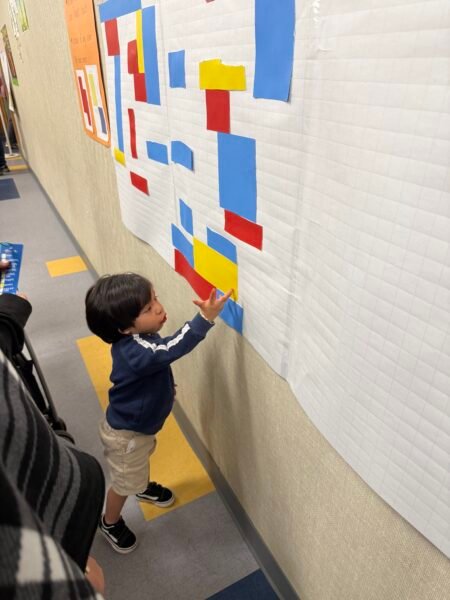
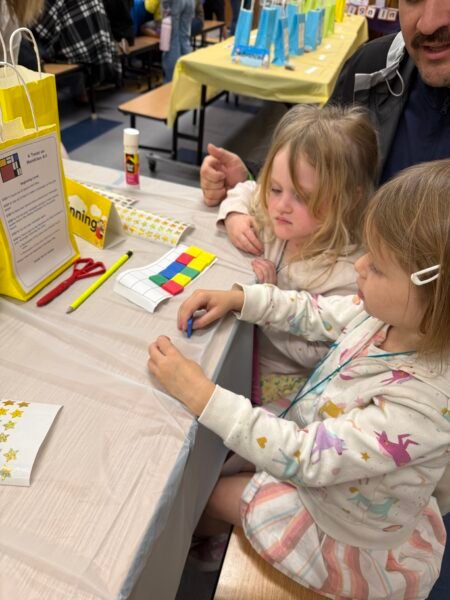
At each level, students used inch tiles to build rectangles based on the directions on the paper bags (included in lesson plan). After creating their rectangle, they added it to our growing Mondrian Wall Art.
Practice Piece
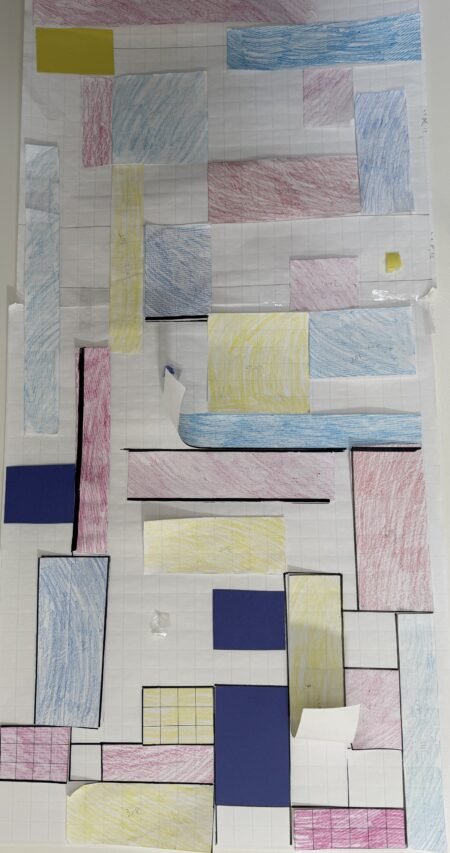
Before trying the activity with students, I wanted to make sure the idea worked and get a sense of what the final product might look like. So I created my own Mondrian Art piece.
Note: My practice piece does not include all the black lines needed to make it a true Mondrian artwork.
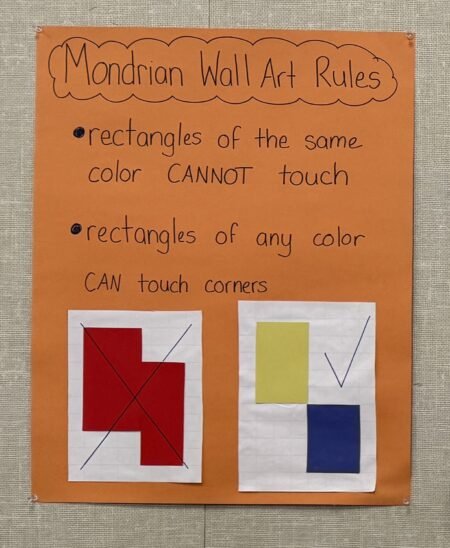
Mondrian Wall Art Rules
Because placement of the rectangles was key to the final collaborative piece, I created a poster showing exactly how the rectangles were to be placed on the graph paper. This information was also included in the directions on the paper bags.
Next time, I would update the poster to show the yellow and blue rectangles overlapping edges and add an example where two rectangles of the same color touch at the corners.
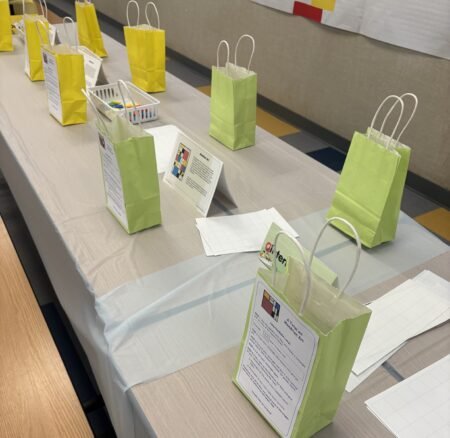
Station Set-Up
This station needed to be set up next to a wall where the inch graph paper was hung. The graph paper is where students added their rectangles, eventually creating the full Mondrian Wall Art piece.
This photo shows the Beginning and Intermediate levels. Except for the colored poster board which was set off to the side on another table, all materials needed for the activity were included inside each of the paper bags.
A Twist on Mondrian Art in Action
What I Learned
There was definitely a lot of prep work for this activity. The good news is, that going through it helped me streamline the process when writing the lesson plan.
One thing I would do differently next time is to set up the station with three facilitators, one at each level. This activity had several steps and with only one facilitator, it was difficult to support everyone. As a result, there were several participants who started freestyling their rectangle. We caught them in time, but it made for a little extra work for them.
Although I did this at a family math night event, it would be a fantastic classroom activity, too! If you’re lucky enough to have a buddy class, this is a great opportunity to have the older students work with the younger ones at the Beginning (K/1) level. This one-on-one is so valuable for early learners. But my favorite reason is that it’s such a great bonding experience. In this age of screens, these types of interpersonal experiences are extra important.
For the lesson plan and more super fun, hands-on collaborative projects, click here.