The Artistic Side of Math – Spiral Geometry
 Mathematics and nature often go hand-in-hand. In this lesson, students study the spirals of the nautilus and tie it in to a numerical sequence called the Fibonacci sequence. They use the sequence to re-design the nautilus using home-made compasses.
I begin the lesson by showing the first few terms of the Fibonacci sequence and have students work together to see if they can figure out the pattern and the next few numbers in the sequence:
1, 1, 2, 3, 5, 8, ?
Eventually they will come up with the pattern that the next term is derived by adding the previous two numbers. So the next nmber in the pattern would be the result of adding 5 and 8 to get 13.
I then share pictures from nature that illustrate the sequence in the form of spirals: the nautilus, fern leaves unfolding, the human embryo, etc.
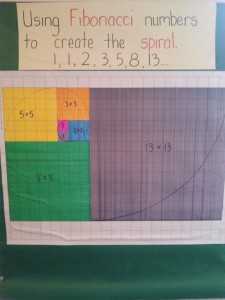
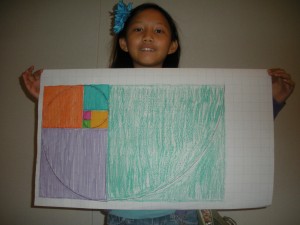
Using inch graph paper and store bought compasses, we begin to transfer these numbers onto the graph paper. Following the Fibonacci numbers, start with a 1 x 1 square. Add the second square 1 x 1 underneath the first one. Next, add a 2 x 2 square to the right of the first two squares. The 3 x 3 square goes above. Keep adding squares until there is no more space on the paper. The photo above does a nice job of showing how to draw the squares.
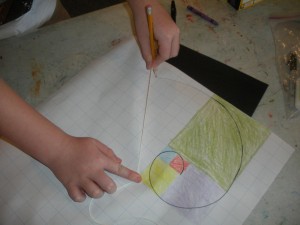
We then draw the spiral using compasses going from corner to corner to make an arc. Because the store bought compasses will only take us so far, I introduce using string and pencils. But since I last did this activity, I discovered another way to make compasses.

